Favorite Fall Recipes

Where does the time go? I have been nannying for two months now and I feel like I’ve become a mom. I am with the two kids about 40 hours a week and by the time I get home, I just want to crash on the couch and order take out. **Shout out to all those moms out there who don’t get to “clock out” at the end of the day!** It’s a horrible habit but I can’t seem to break the cycle. I have, however, managed to make two of my fall favorites the past few weekends: pumpkin gingersnap cookies and curried celery root and roasted sweet potato soup.

These are my favorite fall cookies that are easy but a bit time consuming. So many of my childhood holiday memories are connected to the cookies, pies and other baked goods my mom used to make around this time of year. Now that I am out on my own, I am trying to create some of my own holiday food traditions.

I stumbled upon this recipe last fall when I had some extra canned pumpkin in my pantry. Gingersnaps were always part of my mom’s repertoire so I thought theses Pumpkin Gingersnaps would be the perfect addition to mine.

Pumpkin Gingersnaps 

½ cup of butter, at room temperature

1 cup granulated sugar, plus more for rolling the cookies

½ cup of pure pumpkin (I used Trader Joe’s canned pumpkin)

¼ cup of molasses

1 large egg

1 teaspoon vanilla extract

2 ⅓ cups all-purpose flour

2 teaspoons baking soda

2 teaspoons cinnamon

1 1/2 teaspoons ground ginger

1 teaspoon ground cloves

1/2 teaspoon salt

Directions

In the bowl, beat the butter and sugar together until creamy and smooth using a hand mixer (or a standing mixer if you have one). Add the pumpkin, molasses, egg, and vanilla extract, mix until well combined.

In a medium bowl, whisk together flour, baking soda, spices, and salt. Add dry ingredients to wet ingredients and mix until combined.

Refrigerate the cookie dough for at least 1 hour. The dough can be chilled for 2-3 days.*

When you are ready to bake, preheat oven to 350° F. Line a baking sheet with a Silpat or parchment paper.

Place sugar in a small bowl. Roll tablespoon-sized balls of dough in sugar until well coated and place on prepared baking sheet, about 2 inches apart.

Bake for 10–12 minutes, or until cookies look cracked and set at the edges. The cookies will still be soft.

Let the cookies cool on the baking sheet for a 2-3 minutes after removing them from the oven, then transfer to a wire rack to cool completely.

*I cannot stress enough how important it is that you let the dough chill for AT LEAST one hour. I usually leave mine overnight. If you attempt to roll the dough in your hands and sugar before it is properly chilled, you will have a frustrating sticky mess on your hands (literally). The longer the dough chills, the easier the rolling will be!

This next recipe is loosely on Mark Bittman’s Creamy Curried Celery Root Soup.

Curried Celery Root and Roasted Sweet Potato Soup

2 tablespoons olive oil, divided

1 small onion, chopped

1 tablespoon curry powder

Salt and black pepper

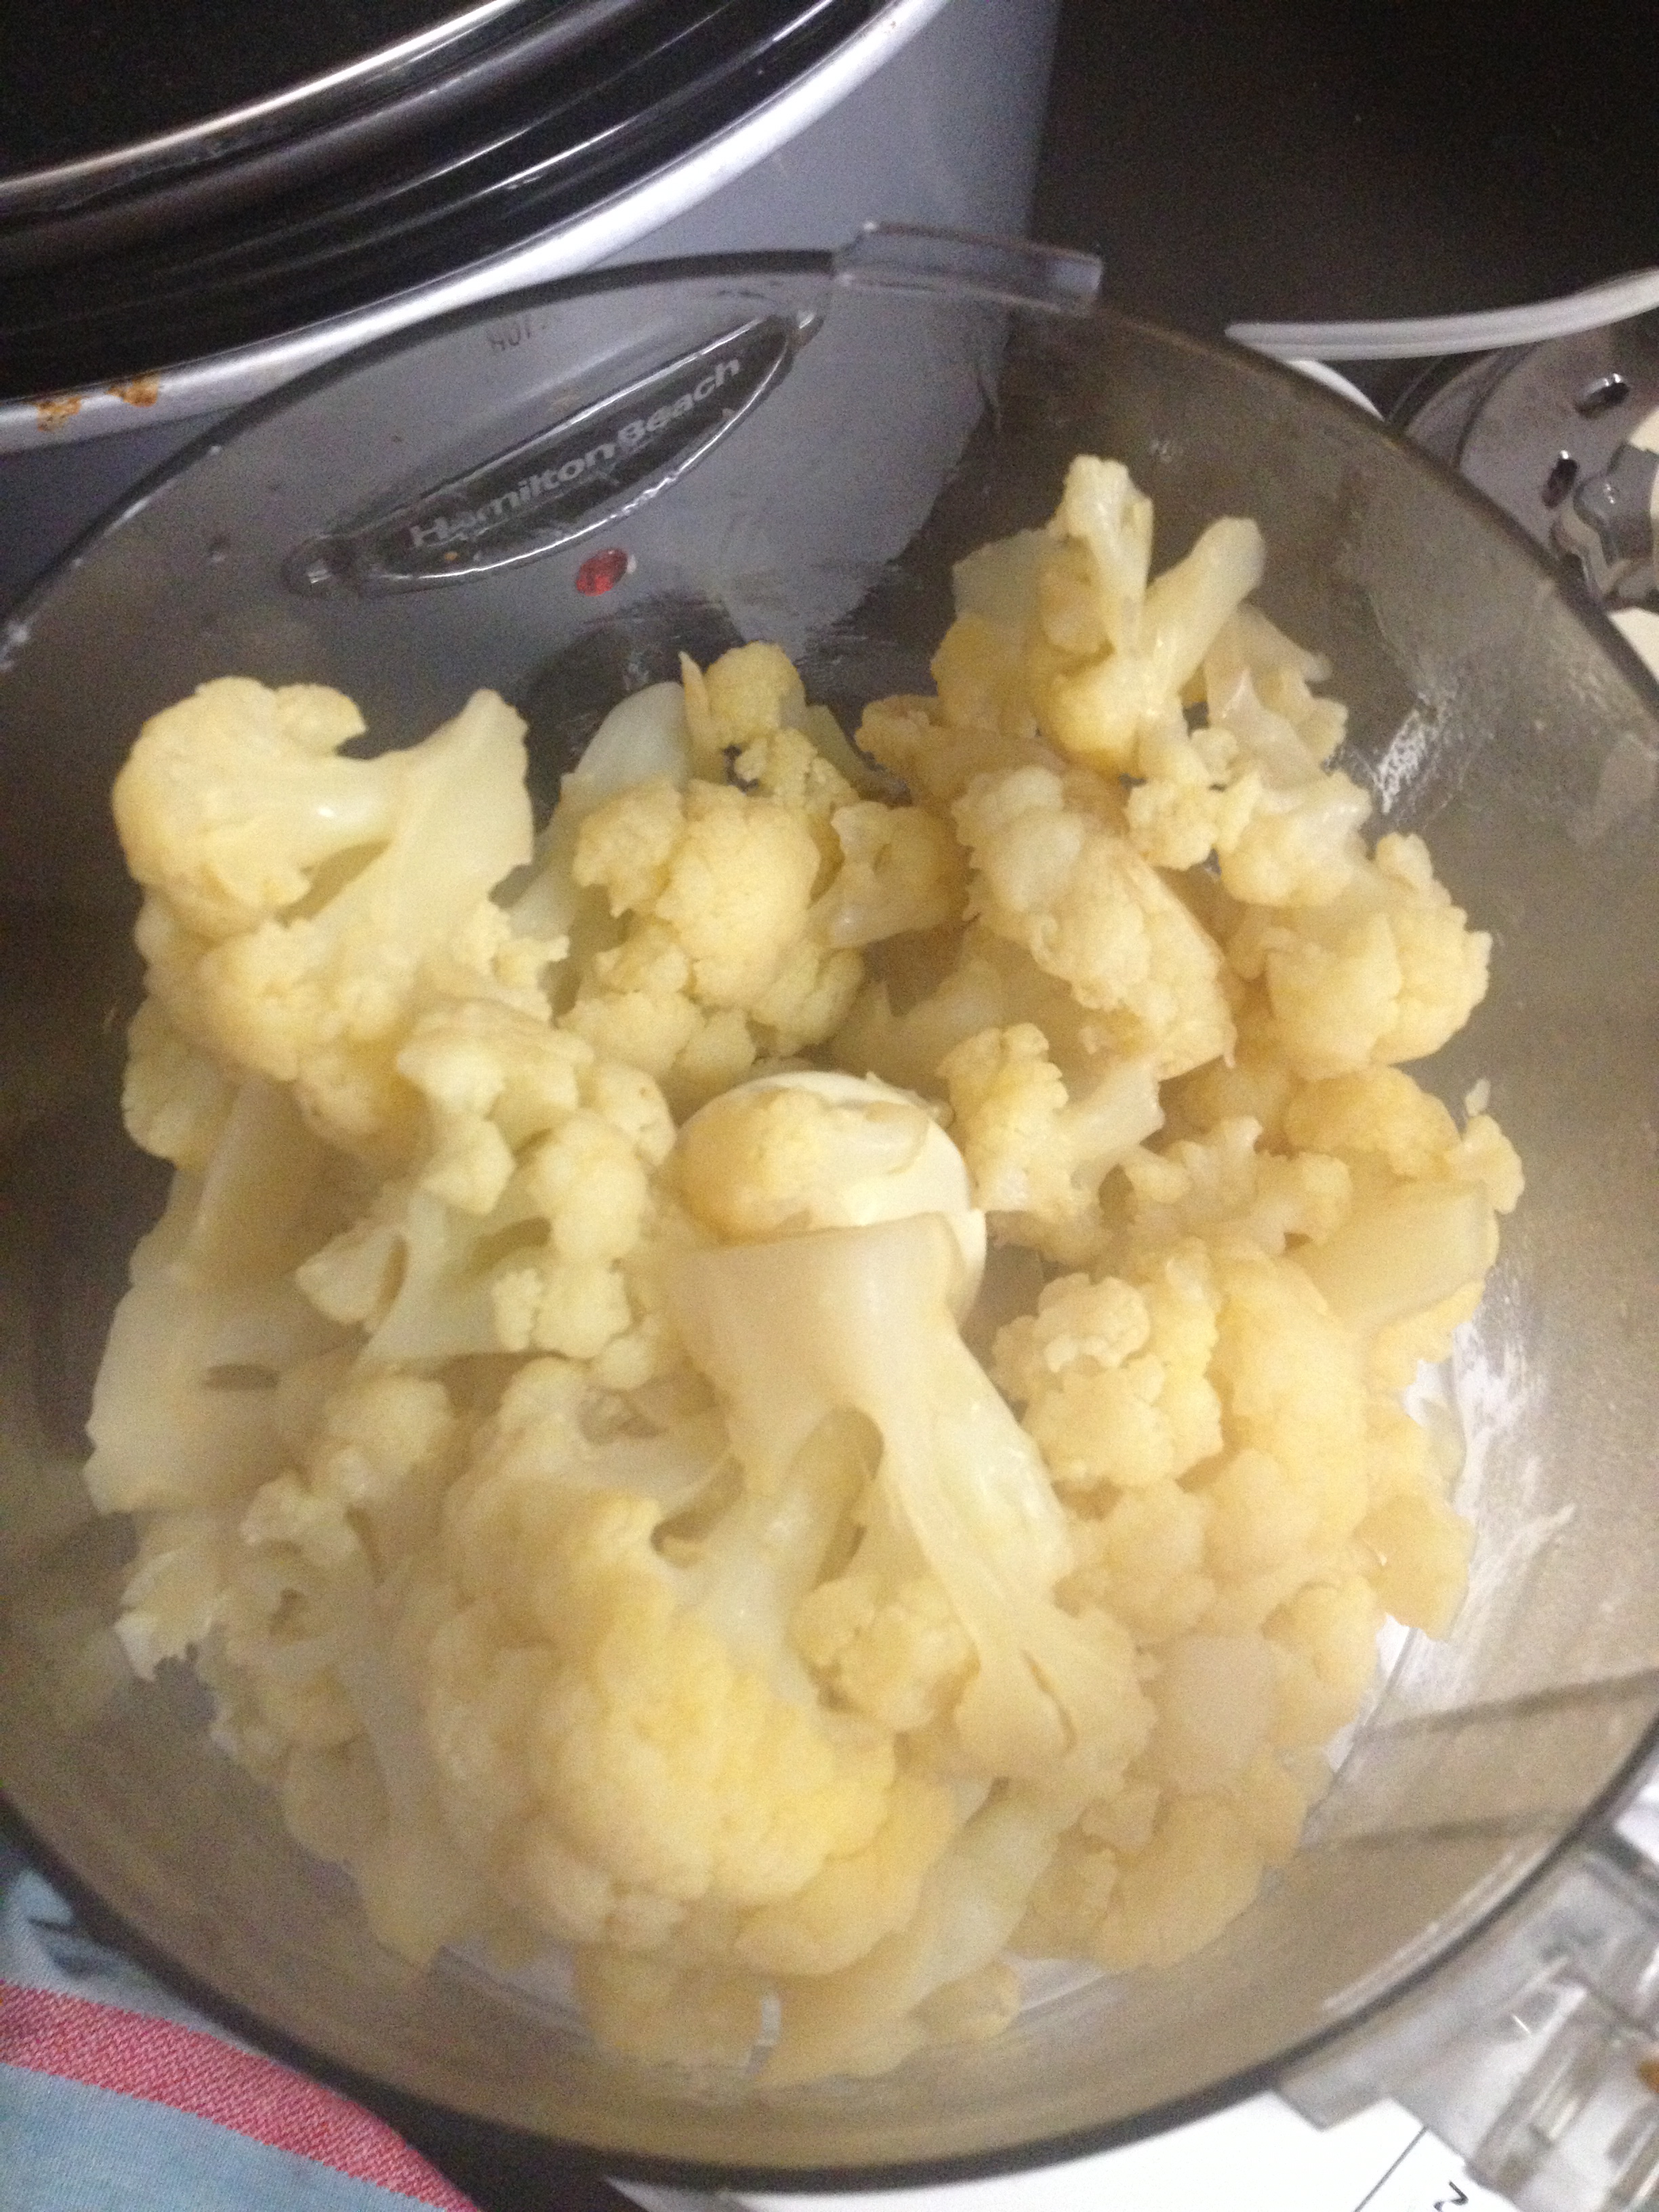
1  pound celery root, peeled and cut into 1 to 2 inch cubes

1/2 pound sweet potato, peeled and cut into 1-2 inch cubes

6 cups chicken or vegetable stock or water

Directions

Preheat the oven to 350 degrees. Put sweet potato in a large bowl and coat with 1 tablespoon of oil and 1/2 tablespoon of curry powder. Toss to coat. Spread out on a lined cookie sheet and roast in the oven for 25-30 minutes (it might take a little longer so just check in 3-5 minute increments).

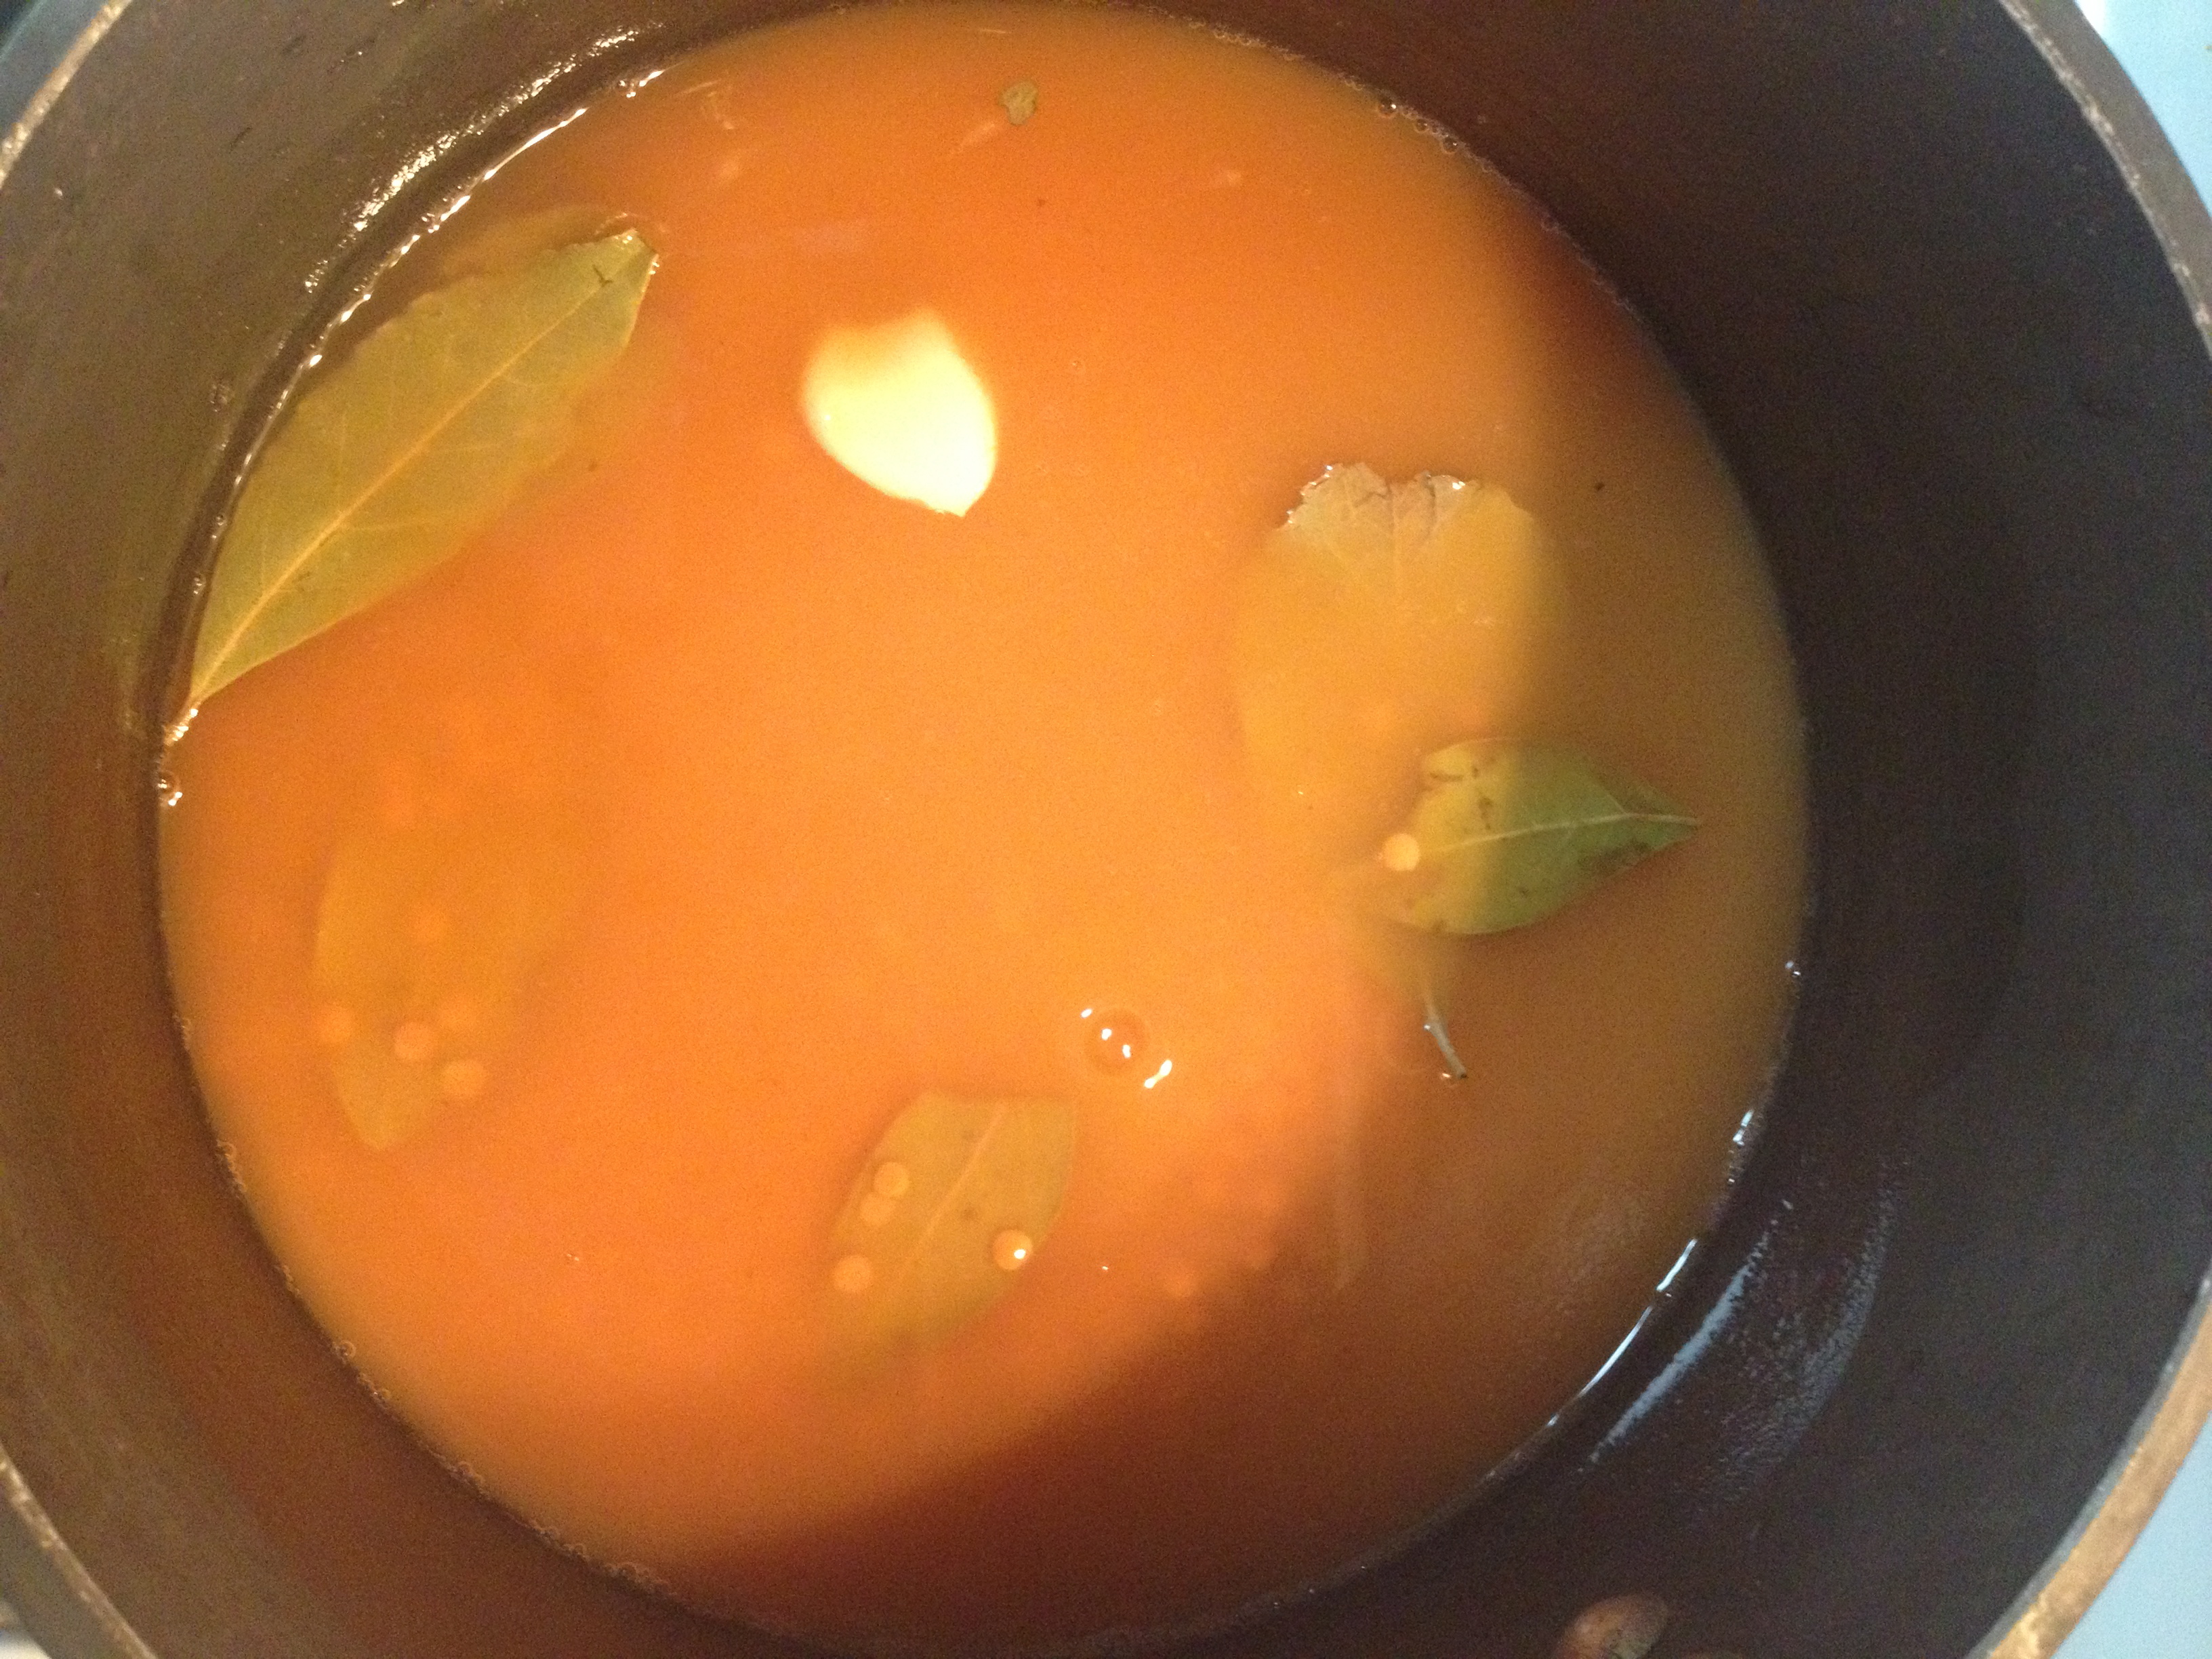
Put 1 tablespoon of oil in a large, deep pot over medium-high heat. When it’s melted, add the onion and cook until they begin to soften, 3 to 5 minutes

Add 1/2 tablespoon of curry powder and a sprinkle of salt and pepper and cook, stirring, for 1 minute

Add the cubed celery root and stir just to coat it in the curry powder, then add the stock and bring the mixture to a boil. Lower the heat so that the stock bubbles gently and cook, stirring occasionally, until the celery root is fully tender, 15 to 20 minutes more

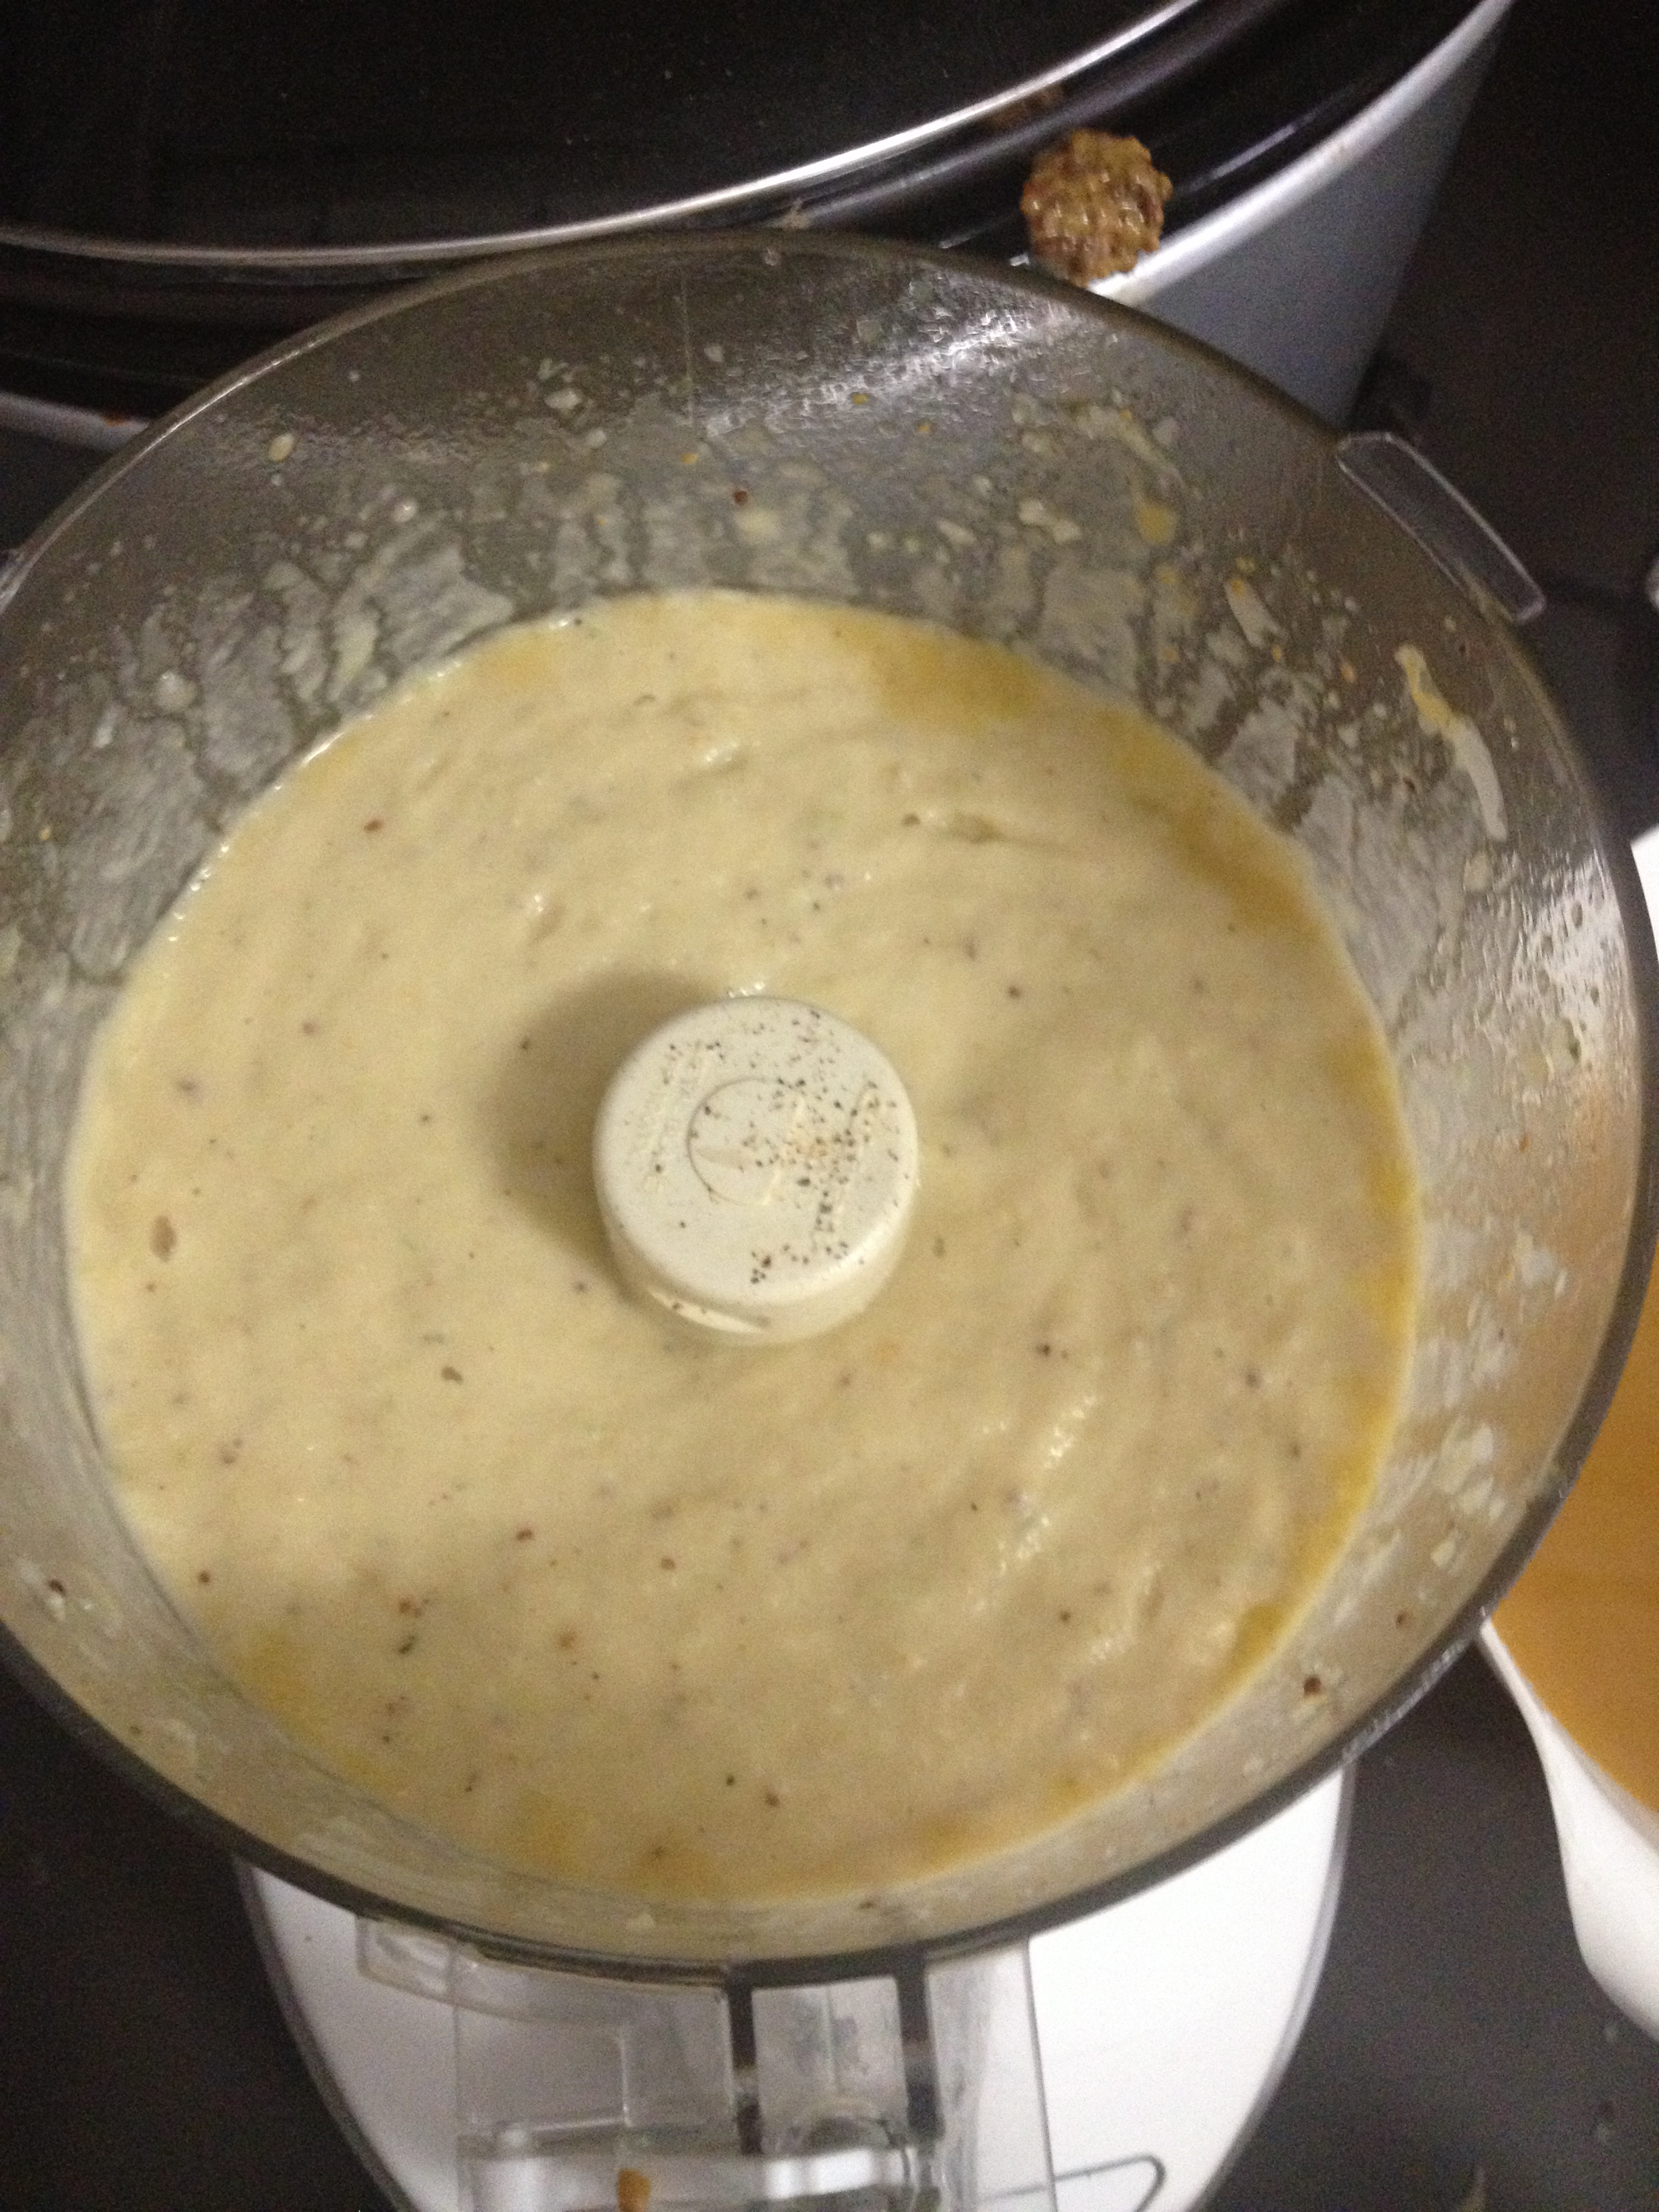
Cool the roasted sweet potato and the cooked celery root cool slightly. Add both to a blender or food processor, and purée carefully. You may also add the sweet potato to the celery root, stock and spices and use an immersion blender to purée the soup in the pan.

These recipes have become a part of my fall/holiday tradition and I hope you will try them out. They are a little tricky at first but practice makes perfect! Once you get a hang of these, they will be great fall backs when you’re in need for a fall pick-me-up! Enjoy!

If you’re looking for some fall inspiration, check out this list of seasonal fall fruits and vegetables and some other fall recipes, in this  from Buzzfeed!

Quinoa Veggie Burgers

I just spent an amazing, life-changing two weeks in Spain and France. I spent three days Madrid, a weekend outside of Montpellier in southern France, five days in Barcelona and a weekend in San Sebastian. The food was different in every location and it is impossible to decide which was my favorite. Everything was just that good. I ate my way through every town we visited and I am now paying the price.

I made the decision to eat vegetarian for this first week back in order to get my diet and body back on track. I don’t usually consume dairy- cheese is really the only thing I eat on a somewhat regular basis- or meat – rarely more than two or 3 times a week. I’m pretty sure my typical diet would survive living in Spain… cafe con leche at least twice a day, frequent visits to a museo de jamon, pintxos in San Sebastian with thick slices of goat cheese, etc., etc., etc.

My first attempt at a filling and delicious vegetarian meal is a version of a veggie burger my friend, Lauren, introduced to me a few weeks before my vacation. She had me over for dinner and we made veggie burgers using quinoa and black beans (both for protein) and colorful vegetables to brighten and bulk it up a bit. Here’s a look at the version I created:

IMG_7265

Ingredients

1 cup white quinoa, cooked according to the packages instructions

1 cup black beans, rinsed*

1/3 cup cilantro, chopped

1/3 of a medium red bell pepper, minced

1/2 of a red onion, minced

1 clove of garlic, minced

1 egg

Salt and pepper, to taste

Directions

Add all ingredients into a bowl and mix well to combine

IMG_7266

IMG_7267

Form into 4 “patties” using your hands. It might help to wash your hands in between each patty

IMG_7271

Warm a frying pan over medium heat and cook each patty in about a teaspoon of oil for 3 minutes per side

WW Points: 3 points/patty

*I used vegetarian chili because, in my fog of jet lag, I bought chili instead of normal black beans. Don’t do this- it made the patties wetter than necessary and they didn’t hold their form that well!

Easy Lentils

IMG_6246I’ve had lentils sitting in my pantry for a long time. Last week, I need a quick, easy and nutritious meal to take to work with me so I decided to give them a try. Lentils are a great source of protein- about 30% of their calories come from protein which makes them the third highest legume in protein content. Adding some fresh veggies is the perfect way to get a well-rounded meal that keeps in the fridge for a few days!

I had some vegetable broth left over from making the WW Asian-Inspired soup a while back that I was able to pull out of the freezer and use instead of water while cooking the lentils. This is also a great way to use up extra veggies you have in the fridge!

Ingredients

1 cup dried lentils

2 cups vegetable or chicken stock

1 bay leaf, 1 garlic clove, or other seasonings (optional)

1/4 – 3/4 teaspoon salt

Vegetables, chopped (I used asparagus and red bell peppers so there would be a few different colors)

Directions

IMG_6241

Measure the lentils into a strainer or colander. Pick over and remove any shriveled lentils, debris, or rocks. Thoroughly rinse under running water

IMG_6242

Transfer the rinsed lentils to a saucepan and pour in the vegetable or chicken stock. When I am making a dish with a vegetarian protein, I like to keep it all vegetarian. If you want another layer of flavor, use a chicken stock. Add any seasonings being used, reserving the salt

IMG_6244

Bring the water to a rapid simmer over medium-high heat, then reduce the heat to maintain a very gentle simmer. You should only see a few small bubbles and some slight movement in the lentils. Do not stir- this will make them turn to mush! Lentils are cooked as soon as they are tender and no longer crunchy

IMG_6243

Strain the lentils over a bowl so you can use the reserved stock to cook any vegetables you may want to add. Remove any seasonings. Add the stock back into the saucepan and bring back to a boil

IMG_6245

Boil the asparagus in the vegetable stock for 8-10 minutes (or until it is at your desired tenderness- I like mine a little crunchy). Strain the asparagus and add cooked lentils, asparagus and raw chopped bell pepper back into the pot to combine

WW Points: 6 points for half the recipe

Creamy WW-Friendly Mac n’ Cheese

Everyone knows that I love anything that Mark Bittman does. So when I ran across this recipe two years ago, I absolutely had to try it. Bittman’s article, “Creamy Cauliflower Mac“, is genius- use pureed cauliflower in place of a bechamel! Not only does the recipe call for an entire head of cauliflower, it cuts out all butter and flour from the recipe! Oh the calories you save.

Apparently, Kraft sneaks freeze-dried cauliflower powder into its mac n’ cheese so Bittman figured he would make a vegetable-heavy, less caloric, unprocessed version of this popular American dish. When I made this recipe for the first time a while back, I followed it to a tee. It was good but the dijon mustard flavor over-powered everything so, this time, I decided to tweak it a bit.

I had a busy afternoon of cooking yesterday. In addition to this delectable mac n’ cheese, I made some homemade tortilla chips (post to follow) and another batch of the Ina Garten Buttermilk Ranch Dressing. It was a good day in the kitchen- something I have definitely been missing these past two weeks or so! Give this recipe a try and tweak as needed for your family. This is by far one of the sneakiest ways to slip in a big serving of vegetables without the kids knowing! You could even amp it up a bit more by adding broccoli florets in place of some of the pasta…

IMG_6330

Creamy Cauliflower Mac n’ Cheese*

2 tablespoons olive oil, plus more for greasing the baking dish (I used Pam)

Salt

2 1⁄2 cups vegetable or chicken stock plus 2 cups water (I used the stock I had in my freezer)

1 cauliflower, cored and separated into large pieces

8 ounces elbow, shell, ziti, or other cut pasta, preferably whole wheat (I used gluten-free quinoa elbow pasta**)

1 ⁄2 cup grated fontina cheese

3/4 cup grated cheddar

6 scallions chopped, white and pale green only

1/2 tbsp- 1 tbsp Dijon mustard, or to taste

1 ⁄8 teaspoon nutmeg, or to taste

Black pepper

1 cup grated Parmesan cheese, separated

Bread crumbs to cover casserole

Directions

Heat the oven to 400°F. Grease a baking dish with a little Pam.

Pour chicken stock into a large pot and add 2 cups of water. Bring to a boil and salt it (unless your stock is already pretty salty)

IMG_6321

(I cooked the cauliflower in just the stock before adding 2 cups of water for the last 10 minutes of cooking. This is was because the liquid level got too low. Just add the 2 cups of water at the beginning to avoid having to do this)

Cook the cauliflower in the boiling stock/water until very tender, 20 to 25 minutes

IMG_6323

Scoop the cauliflower out of the water with a slotted spoon and transfer it to a blender or food processor

IMG_6324

Add the pasta to the boiling stock/water and cook until still somewhat chalky inside and not yet edible, about 5 minutes

IMG_6325

Carefully process the cauliflower with 2 cups of the stock, the 2 tablespoons oil, fontina cheese, cheddar cheese and 1/2 cup of parmesan, scallions, mustard, nutmeg, and a sprinkling of salt and pepper (I had to do this in two batches because I only have a 7-cup food processor)

IMG_6326

If the sauce seems too thick, add the remaining 1⁄2 cup stock. Taste and adjust the seasoning

IMG_6327

Pour the sauce into a large bowl and add the partially cooked pasta, toss, and spread the mixture evenly in the dish

IMG_6328

Sprinkle the top with the 1/2 cup of Parmesan and bread crumbs if you’re using them. Bake until the pasta is bubbling and the crumbs turn brown, 15 to 20 minutes (check every 2-3 minutes after the 15 minute mark). Serve hot.

Makes 6 servings

WW Points: 9 points per serving

I made this batch yesterday and enjoyed a piece for lunch today. The fontina cheese is tangy and different and is nicely balanced out by the salty parmesan and creamy Cabot cheddar. I will definitely be making this more in the future!

*This is adapted from Mark Bittman’s version.

** Using the Ancient Harvest Quinoa Pasta and eliminating the bread crumbs on top make this a gluten free dish!

Pantry Pasta

IMG_5867

One of my roommates moved out today so while she was finishing up her packing, I decided to clean out the fridge and my pantry. In the process, I found 3 different types of dry pasta and, in the fridge, some random produce left over from other recipes that was about to go bad. I figured I would throw it all together and see how it turned out! Here’s what I did:

First I put a large pot of water on so it could come to a boil while I started on the “sauce”

IMG_5868

I used garlic oil (mince a clove of garlic per 2 tbsp of olive oil and let the flavor meld together) that I had left over from when I made homemade pizza a while back. I put that in my wok (a large frying pan will work too) over moderate heat

IMG_5869

 I then thinly sliced the left over green onions from the stir-fry I made yesterday. I let the garlic and onion sweat out for about 3-4 minutes

IMG_5870

Next I added in left over sliced mushrooms from the Slow Cooker Lasagna I made on Monday and let them cook for about 7-10 minutes (I didn’t really time everything so these times are all estimates)

IMG_5871

Next I threw in halved cherry tomatoes that I’ve had in the fridge for salads. I let them cook for about 3 minutes and then covered the wok.

IMG_5872

I left the wok covered for 2 minutes so the cherry tomatoes and mushrooms could steam and cook through more quickly

IMG_5873

I let the “sauce” go for another few minutes (maybe 2 or 3) until the tomatoes started to burst and let out some of their juices

IMG_5874

(This is what it should look like)

IMG_5875

Next, I drained the pasta and dumped it on top of everything. I took the pasta out a minute before the recommended time (so after 7 minutes of cooking) because it continues to cook once added to the “sauce”

IMG_5876

The last step was throwing in a few handfuls of arugula for a little green and spiciness

IMG_5877

All done! I was able to make about 4 (larger) servings with what I had on hand. This is by no means a recipe to follow step-by-step but more of a guideline for making sure you aren’t throwing out any food! Now I have lunch for Nick and I for the next two days!

WW Points: 9 points per serving*

*Remember- this is for this pantry pasta so yours will probably have a different points value. I used about 4 cups of pasta, 1 cup of cherry tomatoes, 2 cups of arugula, 2 cups of mushrooms, 4 tbsp of oil (I added a little extra to my garlic oil), 2 cloves of garlic and 4 green onions (whites and pale green only).

Stir-Fried Chicken with Sugar Snap Peas, Lemon Zest and Mint

I stumbled upon this recipe over the weekend in a cookbook I bought last summer- New Flavors for Chicken. I love this cookbook for several reasons:

1. I got it 50% off at the William Sonoma outlet in Connecticut (only $11!)

2. Who isn’t always looking for new ways to prepare chicken.

3. The book is set up by season. As in, if it is spring (which it is now) all the chicken dishes will use ingredients that are in season.

This recipe calls for sugar snap peas, green onion, mint and fresh ginger- all things you can find this time of year. The ingredient list may be daunting at first but all of the ingredients either keep well (cornstarch, Asian fish sauce or chicken broth) or can be used in lots of different dishes (mint, for example). Once you have everything out and prepped (which only took me about 20 minutes), this dish comes together in less than 10 minutes. It’s an easy meal to make for a week-night dinner or for a dinner party. Just make sure you have some rice (preferably brown) on hand so you don’t miss out on all the yummy sauce!

IMG_5848

Ingredients

12 ounces of boneless, skinless chicken breast halves (about 2 full chicken breasts)

kosher salt

freshly ground pepper

1 lemon, zest from the whole lemon and juice- about 2 tbsp

1 cup chicken stock (use homemade or low-sodium)

2 tbsp Asian fish sauce

1 tsp sugar

1 tsp cornstarch

4 tbsp canola oil (make sure it is canola because olive oil with smoke more easily)

2 whole green onions, white and pale green bottoms chopped and the green tops thinly sliced

2 tbsp fresh ginger, minced

2 cloves of garlic, minced

1/2 pound sugar snap peas

3 tbsp fresh mint, roughly chopped

Directions

Cut chicken breast halves across the grain on a slight diagonal into slices about 1/2 inch thick. Season the chicken strips with 1 tsp salt and 1/4 tsp pepper

Finely grate the zest from the lemon and then squeeze 2 tbsp of lemon juice. In a small bowl, stir together the broth, fish sauce, sugar, lemon zest and lemon juice. In another small bowl, mix the cornstarch with 1 tbsp of cold water

**Make sure you have all the fresh ingredients (mint, green onions, garlic, ginger and sugar snap peas) prepped and in small bowls before you heat the wok! Cooking in a wok at high heat happens quickly and you want to make sure you have everything at your finger tips once you start the cooking process**


IMG_5852

Having small prep bowls like the ones above are great to have on hand for situations like these:

IMG_5853

Heat a wok or very large frying pan over medium-high heat until hot. Add 2 tbsp of the oil and swirl the pan to coat it well. Add the chicken and stir-fry until opaque throughout, about 3 minutes

IMG_5854

Transfer to a platter

IMG_5859

Return the wok to medium-high heat, add the remaining 2 tbsp of oil, and heat until very hot but not smoking. Add the chopped green onion, ginger and garlic and stir-fry until fragrant, about 15 seconds

IMG_5860

Add the sugar snap peas and 1/4 cup of water (**Make sure you have this on hand before you start cooking**), cover, and cook, stirring occasionally until the sugar snap peas turn bright green in color, about 1 minute

IMG_5858

Return the chicken to the pan

IMG_5861

Then add the sliced green onion top and chopped mint

IMG_5862

Stir the broth mixture briefly to mix, add it to the pan and bring it to a boil, stirring constantly

IMG_5863

Stir the cornstarch mixture briefly to mix, stir into the wok and cook until the sauce is thickened, about 30 seconds. Taste and adjust seasoning as needed

IMG_5865

Best if served immediately over rice!

Yields: 4 servings

WW Points: 7 points per serving (without rice)

Easy Wednesday Night Lamb

A few weeks ago I posted a link from Buzzfeed (which was taken from the New York Times) about an easy lamb dish. I mentioned that I have only cooked lamb once in my life because messing up lamb, which is easy to do, can be an expensive mistake. This recipe seemed almost too easy to mess up so I decided to give it a try last night. I must say, it turned out really well. I may have over cooked it by a minute or so but I will know for next time. I also changed it up a bit with spices and made a 2 person portion. Here’s what I did:

Ingredients

1/2 rack of lamb– frenched (about 1/2 a pound)

2 tbsp extra virgin olive oil

1 garlic cloves

1/2 tablespoon chipotle powder

Salt and freshly ground black pepper

1 medium slice rye bread, broken into pieces

Directions

Heat the oven to 450 degrees. Trim the lamb of excess fat, but leave a layer of fat over the meat (I trimmed a little too much but I was trying to make it a little healthier).

IMG_5824

Cut about halfway down the bones between the chops; this allows the meat between them to become crisp.

IMG_5822

Put the oil, garlic, chipotle and a sprinkle of salt and pepper in a food processor and purée; add the bread and pulse a few times to make rough crumbs

IMG_5823

Rub this mixture over the meat side of the rack and sprinkle with more salt and pepper

IMG_5826

Put it in a roasting pan and into the oven; roast for 15 to 18 minutes*. Insert an instant-read meat thermometer straight in from one end into the meatiest part. If it reads 125 degrees or more, remove the lamb immediately. If it reads less, put the lamb back for 5 minutes, no more. Remove and let sit for 5 minutes. Serve, separating the ribs by cutting down straight through them.

IMG_5827

I made a quick salad with cherry tomatoes and feta with a balsamic vinaigrette and some Alexia chipotle sweet potato fries to finish off the meal. It ended up being a 16 point dinner but it was completely worth it!

WW Points: 3 points for one serving of rub and 9 points for 3 oz of lamb
*I adjusted the original cook time from 18-20 minutes stated in the Buzzfeed and New York Times articles because I used 1/2 a rack of lamb instead of the full rack. I also adjusted the amounts used in the rub.

WW Egg Salad

It is a beautiful day in New York so I decided I wanted to make a picnic and hang out in Central Park. I have never done this in the 3 years I’ve lived in New York and I’m not sure why I haven’t! This week has turned into a week where all my meals are coming from previously frozen soup, extra eggs and canned beans so I needed to get creative when putting together my Central Park lunch. I had a few things on hand (extra eggs from making the Ina Garten brownies, rolls in the freezer from making burgers over the weekend, garlic chives from the Goi Cuon and the fixings for a salad in a mason jar) so I decided to throw together a WW-friendly egg salad- I know, not the best thing for a picnic in the sun but whatever!

First off, I had to hard boil the eggs. Ina Garten has the hands-down best technique for hard boiling eggs. Here’s what to do:

Place the eggs in a saucepan and add enough cold water to cover.

Bring the water to a boil and immediately turn off the heat. Let the eggs sit in the pan for 15 minutes.

Remove the eggs to a bowl and allow to rest for at least 2 minutes. When the eggs are cool enough to handle, crack the eggs on each side and then roll them back and forth with your hand, breaking up the shell. Remove and discard the shell.

IMG_5800

Ingredients*

4 large egg(s)

2 large egg white(s), you’ll have to boil these as whole eggs and discard the yolks

2 Tbsp chives, fresh, chopped

1 Tbsp reduced-calorie mayonnaise

1 tbsp Dijon mustard (I used an herbed mustard from Stonewall Kitchen)

1/2 tsp table salt

1/4 tsp black pepper, freshly ground

Instructions

Hard boil eggs (see above)

Discard yolks from two of the eggs. Chop remaining whole eggs and whites into bite-size pieces.

IMG_5801

Transfer eggs to a medium bowl. Add chives, mayonnaise, mustard, salt and pepper; mix until blended.

IMG_5802

Yields about 1/2 cup per serving (4 servings total)
WW Points: 3 per serving

*This recipe is loosely based on a WW recipe for an egg salad

Maryland Blue Crabs

20130504-174345.jpg

Nick and I ventured back to Red Hook today for two reasons: we needed to stop at Ikea (again!) and we wanted to go back to Brooklyn Crab. When we stopped here last weekend, we were to full too order anything more than 1/2 dozen oysters. This time, we dove right in and ordered 1/2 dozen Maryland Blue Crabs.

I have only picked Maryland crabs one other time and it was back during my senior year of high school. I remember it being hard and not worth the work. Boy was I wrong! These female blue crabs were so full of delicious, sweet meat and the Cajun boil took them over the top. The accompanying coleslaw and boiled corn on the cob sealed the deal. All for just $19- delish!

I’m going to try to attempt to cook some of these down the road but, for now, the trip to Red Hook will have to do! If you find yourself making crabs at home and in need of some help on picking them (I did because I had such a vague memory of doing it 7 years ago) check out this guide by Esquire. Enjoy!

Pasta with Manilla Clams

IMG_5657

I got the idea for this pasta dish from the Mark Bittman article I posted last week. His was a pasta (dry spaghetti or linguine) with manilla clams removed from the shells. I decided to take that idea and mix it up a bit. I took a trip to Eataly and bought 4 ingredients: fresh pasta (chitarra), pancetta, manilla clams and parsley.

Ingredients

Fresh Manilla Clams (6 per serving)

Fresh Pasta (2 oz. per serving)

Pancetta (1/4 inch thick- 1/8 cup per serving)

1/4 cup White Wine (use this amount when making 2-4 servings)

Parsley to garnish

Directions

Fill a pot with water and bring to a boil. Heat a large skillet (that has a lid that fits) over moderate heat. Once warm, add the pancetta and allow to cook for 4-5 minutes- you want to render the fat so you basically have some oil in the pan.

Add the manilla clams and toss to coat with the pancetta “grease”. Add white wine and cover with the lid. Cook for 8-10 minutes until all the clams are open. Don’t check too often- you don’t want to loose the steam. While the clams are steaming in the wine, add your pasta to the boiling water. Cook fresh pasta for 2 minutes and dry pasta for 8- you want it a little less than al dente.

Discard any clams that did not open (they are no good) and remove the rest from skillet to a plate to cool. Using tongs, move the pasta from the pasta water into the large skillet. Add about 1/8 cup pasta water to the pasta, pancetta and wine. Toss to mix everything and let it cook for another 2-3 minutes (until the pasta is done).  This is important because the pasta will absorb the extra wine and pasta water! Turn off the heat and add in roughly chopped parsley. Toss to mix and move to a serving bowl. Add clams to the bowl in a decorative way!

Enjoy!

WW Points: 9 points per serving